Machining Guide: Thread Milling vs. Tapping

Which Approach is Best?

Historians will tell you that the screw thread was invented more than two millennia ago and was originally a means to bring water to thirsty crops and people. Since the dawn of electricity, though, we've used pumps to move fluids, which would be impossible or at least very difficult and expensive to manufacture without threaded fasteners. So would bicycles, computers, refrigerators, and virtually every other modern electromechanical device. Threaded fasteners hold the world together. Literally.

Threads and threading is a complex subject. Coarse and fine, left or right, tolerance classes, form, angle, and pitch—we won't attempt to explore the near-encyclopedic amount of screw thread terminology or all the many types of threads in use today, except to say that most have a 60-degree form and fall under the metric or Imperial measurement system.

What we will discuss are the two primary approaches to making internal screw threads—tapping and thread milling—and when to use one over the other. There’s no room to talk about thread rolling, chasing, whirling, or other threading methods, all of which are limited to external fasteners—screws, in other words. Nor will we cover thread milling’s alter ego, single-point threading, a process commonly used to produce internal and external threads but which can only be performed on appropriately equipped lathes. As noted, threading is complex stuff, so let’s eat the threading elephant one bite at a time.

What is Tapping?

At first glance, a tap looks quite similar to a bolt or screw, albeit one with grooves running down the sides. These grooves are used to conduct chips up and out of the hole during machining, just as the sharp edges on the end and periphery are used to cut the threads. Taps work much like any other rotary tool, in that they’re gripped in a chuck, collet, or special “floating” toolholder (more on this shortly) and then driven into the workpiece at a specific feedrate.

The two caveats to this are as follows: there must be a hole slightly larger than the thread’s minor diameter (taps are not drill bits and only cut on the tool's outer edges), and the feedrate must be precisely equal to the thread’s pitch—a 1/4"-20 tap, for example, must advance 0.05" per revolution (or 20 threads per inch) to produce a good thread.

Just as there are many different types of threads, so does a wide variety of taps exist. Plug taps are generally used to thread “through-holes” while bottom taps are as their name describes, able to produce threads up to the very bottom (almost) of blind holes. Spiral point taps tend to drive chips forward, whereas those with spiral flutes direct them upwards, out of the hole.

There are also forming or roll taps, which produce no chips at all. Instead, they displace material, much like the thread-rolling process mentioned in the introduction. These follow the same basic rules as cut taps insofar as feedrate and tool geometry, but require a slightly larger pilot hole to allow for the displaced metal. However, form taps are limited to ductile materials like aluminum, stainless steel, and superalloys, and should not be used with cast iron or hardened steels.
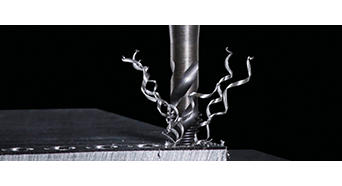
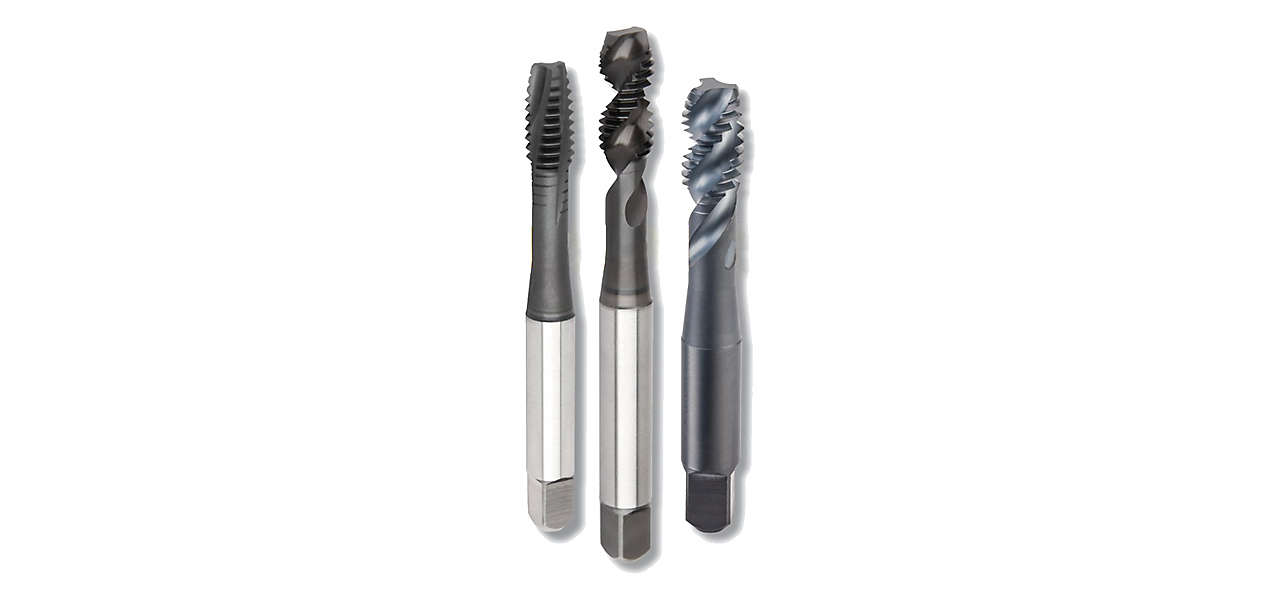
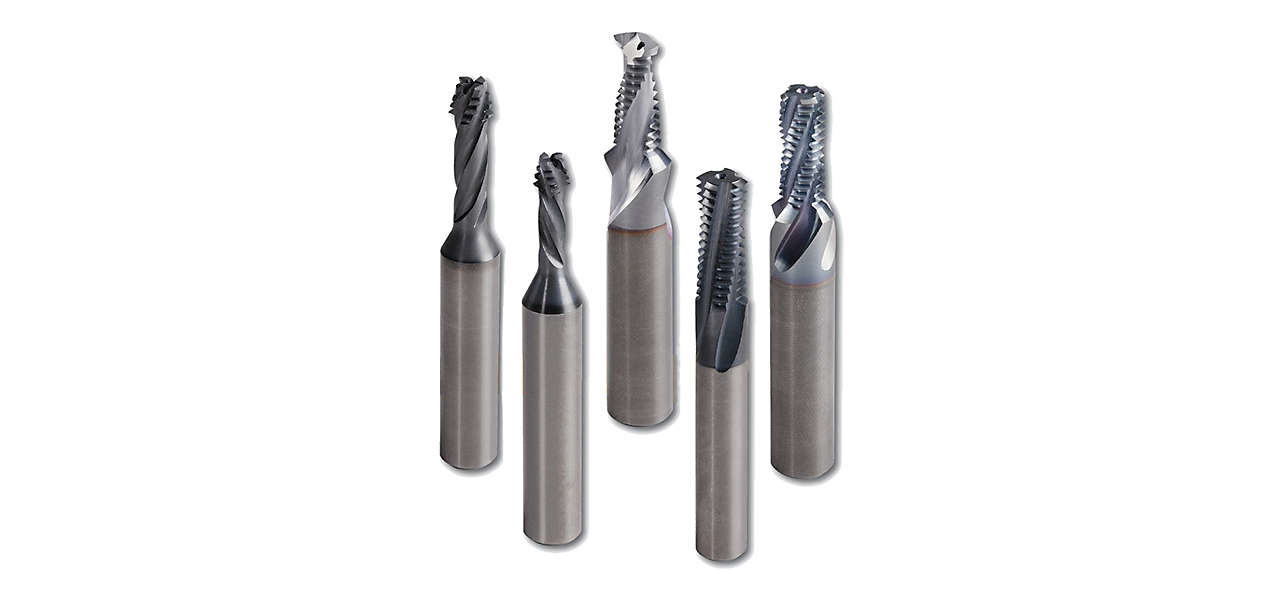
Kennametal spiral flute taps offer high performance for blind-hole applications in steel & steel alloys, stainless steel, cast iron, nickel- & cobalt-based alloys, titanium & titanium alloys, aluminum, and hard steel.

What is Thread Milling?

A thread mill also requires a pre-drilled hole. Unlike cut and form taps, though, it’s far more flexible in terms of feedrates, thread size, and programming approach. It works like any milling cutter, removing material radially, along its peripheral edges. What's different is that a thread mill's flutes are a mirror image of the thread form itself, generating it as they pass.

Note the term “programming approach” a moment ago. Unlike tapping, which can be performed on practically any machine tool or even by hand, thread milling is only possible on a CNC machining center, Y-axis equipped mill-turn center, or multitasking lathe. Regardless, it gives programmers great latitude in their machining approach, the types of material they can machine, and even the size of the threaded hole—a single 20-pitch thread mill can produce any size thread, for instance, provided it has 20 threads per inch and does not exceed the tool’s maximum cutting depth.

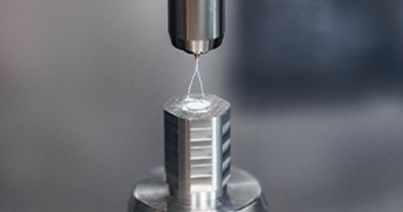
A thread milling operation starts by driving the cutter down the center of a drilled hole at a fairly rapid rate, then using a small arcing motion to move the tool radially into the workpiece until reaching the required diameter. The rotating thread mill then describes one complete circle while simultaneously moving upward (in the Z-axis) by an amount equal to the thread pitch—in our 1/4"-20 example, this would be 0.050", or one complete turn. The thread now complete, the tool disengages by executing another small arcing motion back to its starting point before withdrawing from the hole.

This was a generic programming description. If the material is tough like Inconel or titanium, multiple passes or so-called “spring passes” might be needed. Different arcing strategies can be used, and since the feedrate is not dependent on the thread pitch as with tapping, programmers are free to adjust their strategies based on machining conditions and the type of tool used—the example just given described a typical path of a “full profile” thread mill. However, some manufacturers offer “single-plane” thread mills, which must trace the entire thread from top to bottom, circling round and round until reaching full depth.

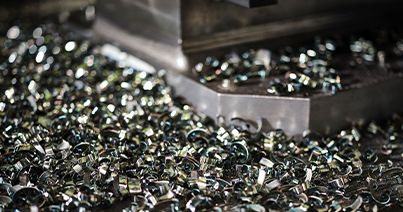
The combination of design elements on Kennametal high-performance solid carbide thread mills offers a range of benefits to improve overall thread quality and tool production. Short, easily evacuated chips generate less heat and friction, so there is a lower risk of damage to threading. Also, the superior carbide grades make threading easier and machining times shorter.

Which One Should I Use?

As with so much else in the manufacturing world, the answer to “which approach is best?” depends on numerous factors. Tapping and thread milling each have distinct pros and cons, and the choice of one over the other comes down to production quantity, material hardness or toughness, available machine tool power, accuracy requirements, and personal preference. Here are some things to consider as you weigh the two options:

  • Speed: As a rule, tapping is slightly faster than thread milling. Depending on the workpiece material, thread depth, and machine tool speed, the 1/4"-20 thread discussed so far might take 4-5 seconds to tap, and perhaps twice that to mill with a full-profile cutter. Yes, single-plane thread mills with their need to make multiple passes are far slower, but this is the exception rather than the rule. Simply put, there isn’t much difference between milling and tapping until you're faced with thousands of workpieces.
  • Power: Since a tap creates a complete thread in a single pass, it requires significant torque to drive it, especially in tough materials. For threads larger than 3/4" or so in diameter, all but geared head, very powerful machining centers will struggle. Thread milling has no such limitations and can machine whatever size threads are needed.
  • Size: There’s a caveat to this last statement. For very tiny #000 and smaller threads like those used in wristwatches and some medical devices, thread mill availability becomes limited and a tap might be the only choice, particularly if the threads are more than a few diameters deep.
  • Tool life: Here's another big feather in thread milling's cap. Because most taps are made of high-speed steel (HSS) and most thread mills are of carbide, the latter enjoys longer tool life (not to mention faster spindle speeds). And if a worn tap breaks in the hole (an all-too-common occurrence), chances are good that the workpiece will be damaged or scrapped. Thread mills are more predictable in this respect, and if one breaks during operation, it’s much more likely that the workpiece can be fixed.
  • Flexibility: this is thread milling’s superpower. When tapped threads are out of tolerance, a different "H-size" tap will be needed (available in increments of 0.0005" larger or smaller). Not so with thread milling, where a simple offset adjustment quickly brings threads back to spec. In addition, taps are designed to produce only one size and type of thread, and often boast material-specific geometries. A full-profile 16-pitch thread mill, on the other hand, can cut any 16-pitch thread (provided it fits in the hole) just as a 20-pitch thread mill can cut 20-pitch threads, and so on. And single-plane thread mills can cut whatever size or pitch thread is desired by modifying the program.

This last bullet—flexibility—is also thread milling’s Achilles heel. The programming is admittedly more complex, which is why some shops have steered clear of it. But given the large number of online programming calculators and widespread CAM support for thread milling, there’s no reason to avoid it, especially considering its greater flexibility and thread quality.

Whatever method makes the most sense for your application, be sure to follow best practices. Always use the appropriate toolholder. For machines without a rigid tapping function, a tension-compression holder or self-reversing tapping head will be needed, otherwise a synchronous tap chuck like this one from Kennametal should be used. Thread mills are best gripped in a high-quality milling chuck, whether hydraulic, mechanical, or shrink-fit holder. Avoid side-lock holders and collet chucks.

And if through-the-tool coolant is available (an increasingly common feature with thread mills), clean, high-pressure cutting fluid is preferred, whereas for tapping, it might be necessary to stop the machine and squirt a little wax or specialty fluid into the hole to prevent seizing. Whatever the approach, be sure to weigh your options and do the math. With the exception of high-volume applications, we've seen that thread milling often comes out on top, although tapping continues to have its place. When in doubt, give the experts at Kennametal a call. We know threading.

You are about to add to your My Solutions page. Do you want to proceed?
Select the destination where you want to move to.
New Folder
    • Applied Filters:
    • Clear All

product-image
Please adjust the following properties from

ISO Catalog Number

ANSI Catalog Number

to find similar products.

The following files are available

Please select a file to download

Models

You should be logged to see your dashboard information
Session expired due to inactivity, please login again
The product/s () you were trying to add to the cart is/are not available, please contact customer service
item(s) successfully added to the cart
View Cart

. Please enter the desired qty for the material(s) you want to include in your promotion or Proceed Without Promotion and only your base materials will be added to the cart.

Minimum quantity should be

SAP Material Number ISO Catalog Number Grade  

You are about to leave the Solution building process.

Are you sure you want to leave?

Standard

ALL

Material

Select a Value

Hardness

--

Hardness Scale

--

Permitted Groups :

Group

SubGroup

Hardness (HB)

Hardness (HRC)