One of the most critical aspects of milling a workpiece is ramping. The ramping process uses a milling cutter to enter the workpiece at an angle, rather than entering it perpendicularly to the surface. Ramping gradually increases the cutting depth, produces smaller chips, and eliminates the need for an entry hole. It provides a simple means to enter a pocket and reduces the forces applied to the milling cutter.
Benefits of Ramping in Milling
Ramping offers several benefits over traditional drilling or plunge milling techniques. Some of the key advantages include:
Improved Tool Life: Depending on the cutting forces applied you can significantly improve tool life compared to plunging. This means that the tool can be used for longer periods of time and reduce tool changes, resulting in more reliable and consistent milling.
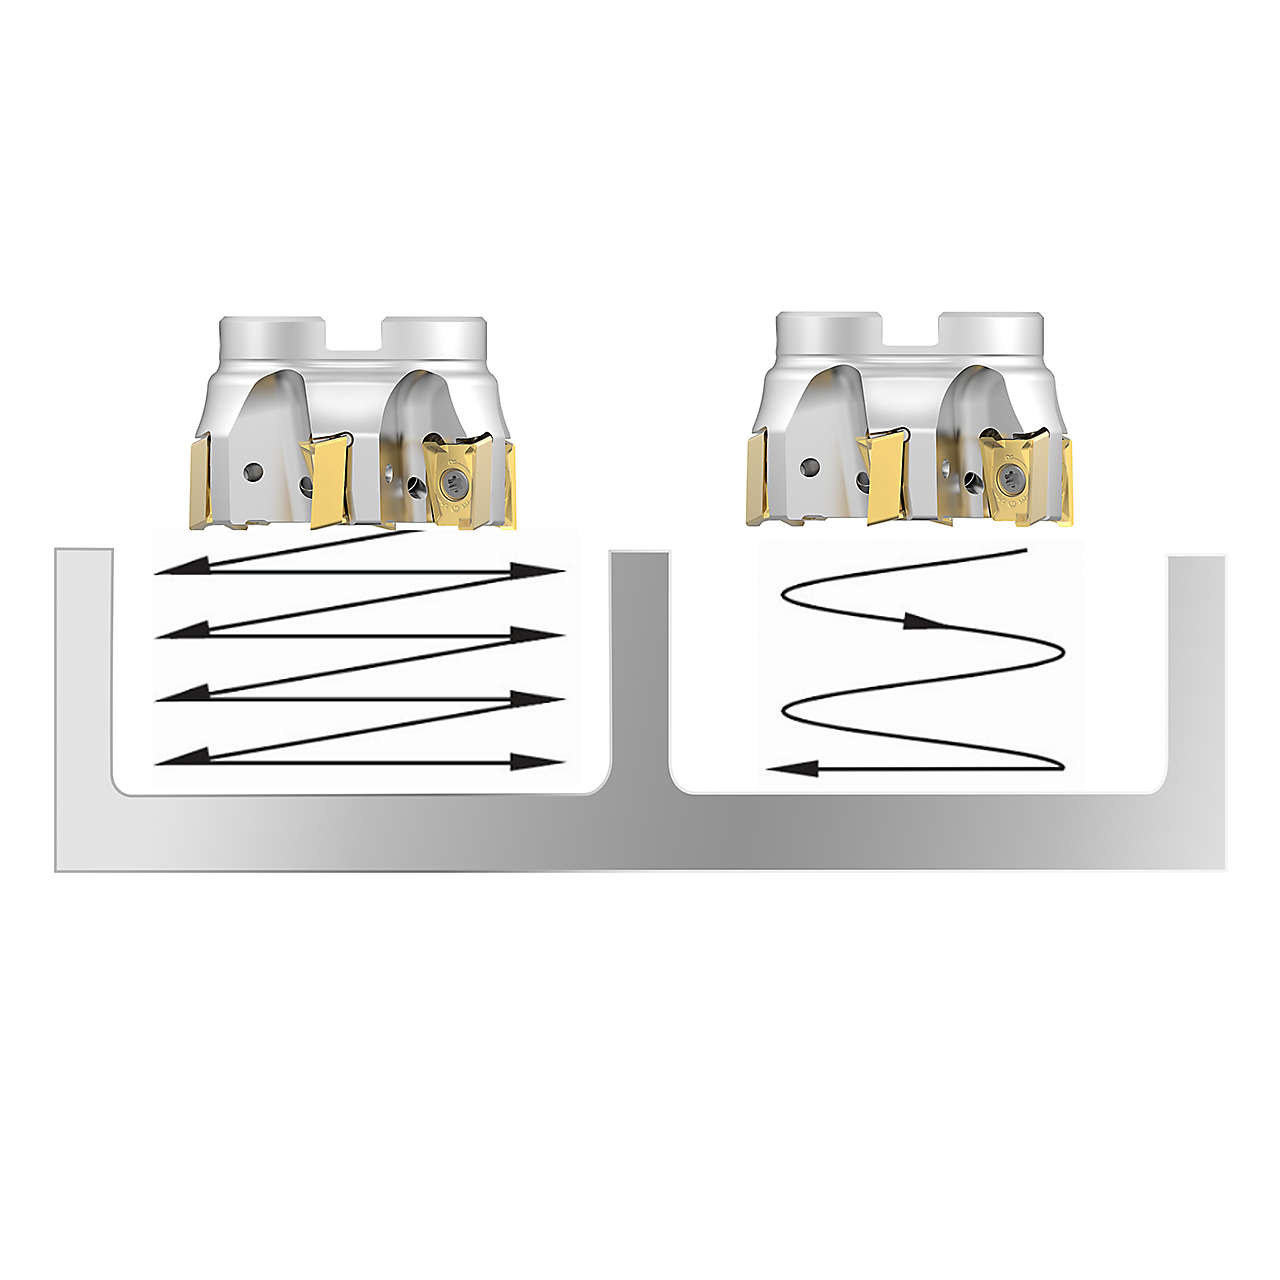
Vibration Reduction: Ramping gradually increases the depth of the workpiece while moving the milling cutter on a linear path and reduces vibrations, preventing unnecessary costs from tool wear.
Machining Time: Ramping can reduce the overall machining time depending on the tool and workpiece, particularly when working with deep cavities or pockets. This means that more work can be completed in a shorter amount of time, increasing productivity, and reducing costs.
How to Ramp in Milling
Ramping requires careful planning and execution to ensure that the milling operation is successful. The following steps outline the process of ramping in milling:
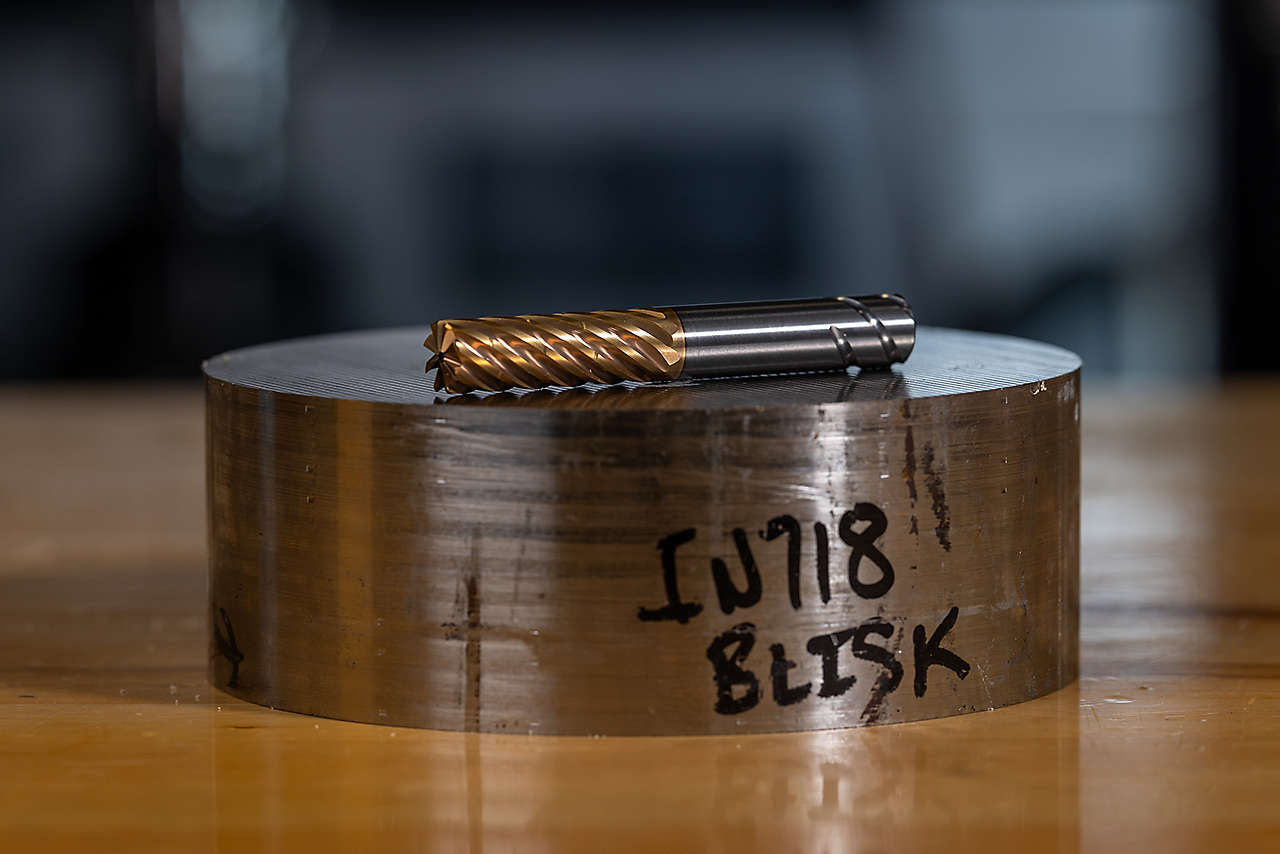
Choose the Right Tool: Selecting the right tool for the job is always important. Tools should be able to handle the cutting forces and provide the necessary chip evacuation for the material being machined. For example, the Kennametal Mill 1™ shoulder mill is an example of a tool designed for ramping and milling within holes and pockets. It provides greater clearance beneath the insert. Its innovative insert and cutter body designs offer improved ramping capabilities. Another example is the HARVI™ I TE which is fantastic for aggressive ramping at reduced feed rates. These mills are applicable for a variety of operations, including dynamic milling, and extreme ramping operations.
Determine Ramp Angle: The ramp angle should be chosen based on the geometry of the tool, the material being machined, and the depth of cut. Generally, if you’re uncertain about the ramp angle, you can contact a Kennametal expert to help.
Program the Tool Path: The tool path should be programmed to ensure that the tool enters the workpiece at the correct angle and follows the desired path. This can be done using CAD/CAM software or by manually programming the tool path.
Test and Optimize: Once the tool path’s been programmed, it’s essential to test and optimize the milling process. This can involve adjusting the cutting speed, feed rate, and ramp angle to achieve the desired results.
Monitor the Process: During the milling operation, it is important to monitor the process carefully to ensure that everything is running smoothly. This can involve monitoring the cutting forces, chip evacuation, and surface finish.
Helical Interpolation and Linear Ramping
As we discuss ramping in milling, we should also mention the differences between helical interpolation and linear ramping. Each method has distinct differences that make them suitable for different milling applications. Depending on your application, each technique can effectively help you achieve your goals. Here are some key differences:
Helical interpolation or circular ramping is used to machine tighter pockets of the workpiece. The cutter moves in a continuous spiral. It distributes the cutting forces across the X or Y axis and the Z axis. It allows for precise and efficient machining to create holes, threads, and grooves.
Linear ramping also involves moving the cutting tool across the X or Y axis and the Z axis.
In helical ramping, the angle of entry determines the direction of the cut. The most common entry method is climb milling (thick to thin or down milling.) With this tool path the cutter revolves in the same direction as the table feed.

Helical Interpolation during ramping
Summary
Ramping can reduce the overall machining time, particularly when working with deep cavities or pockets. By ramping, the tool can quickly reach the desired depth without having to drill or plunge mill the entire depth. It is essential to choose the right tool, determine the ramp angle, program the tool path, test and optimize, and monitor the process carefully. By using ramping in milling, you can achieve higher productivity, better quality, and lower costs, making it a valuable technique for any metalworking project.
For more information on ramping and finding the right milling products for your application, contact a Kennametal expert.
Related Articles
- Tips to Reduce Waste in MachiningWould you like to be more cost-effective when machining? Find out some helpful tips on how to reduce waste and save on production costs.Would you like to be more cost-effective when machining? Find out some helpful tips on how to reduce waste and save on production costs.
- Micromachining: Exploring the Growth of Medical InnovationExplore micromachining and its relation to medical devices, the tools and materials used, and why manufacturing plays a vital role in this area.Explore micromachining and its relation to medical devices, the tools and materials used, and why manufacturing plays a vital role in this area.
- Buying Guide: Composite Materials Machining SolutionsWhen manufacturing composite materials, it is crucial to use top-notch equipment and techniques. Shop Kennametal's specialized tooling for composites now.When manufacturing composite materials, it is crucial to use top-notch equipment and techniques. Shop Kennametal's specialized tooling for composites now.
- Choose the Right Toolholder for Your Operations Choosing the right toolholder is critical for achieving precise and efficient machining results. Explore the fundamentals of toolholders and find out what you should know before choosing the right one for your operations.Choosing the right toolholder is critical for achieving precise and efficient machining results. Explore the fundamentals of toolholders and find out what you should know before choosing the right one for your operations.


